Christmas Lights 2015: A First Attempt
I've always liked Christmas lights, but my house rarely saw itself decorated beyond the bare minimum of the Christmas tree during the festive season. Maybe a few silver baubles and a star on the tree, but never more than that.
In December 2014, my girlfriend and I went Christmas light hunting and wound up at Edgewood Estate, where everybody seems to get into the spirit of Christmas. At the top of the estate, almost every single home was adorned with beautiful lights.
What struck me about this place was the atmosphere. So many families were out enjoying the lights with their children, and everybody was some combination of happy, excited and awestruck.
This is what made me want to create my own Christmas light display; I wanted to create something that would give people that same feeling. I also wanted to create something different, using my skills as a software engineer and, more recently, as an electronics hobbyist.
The Lights
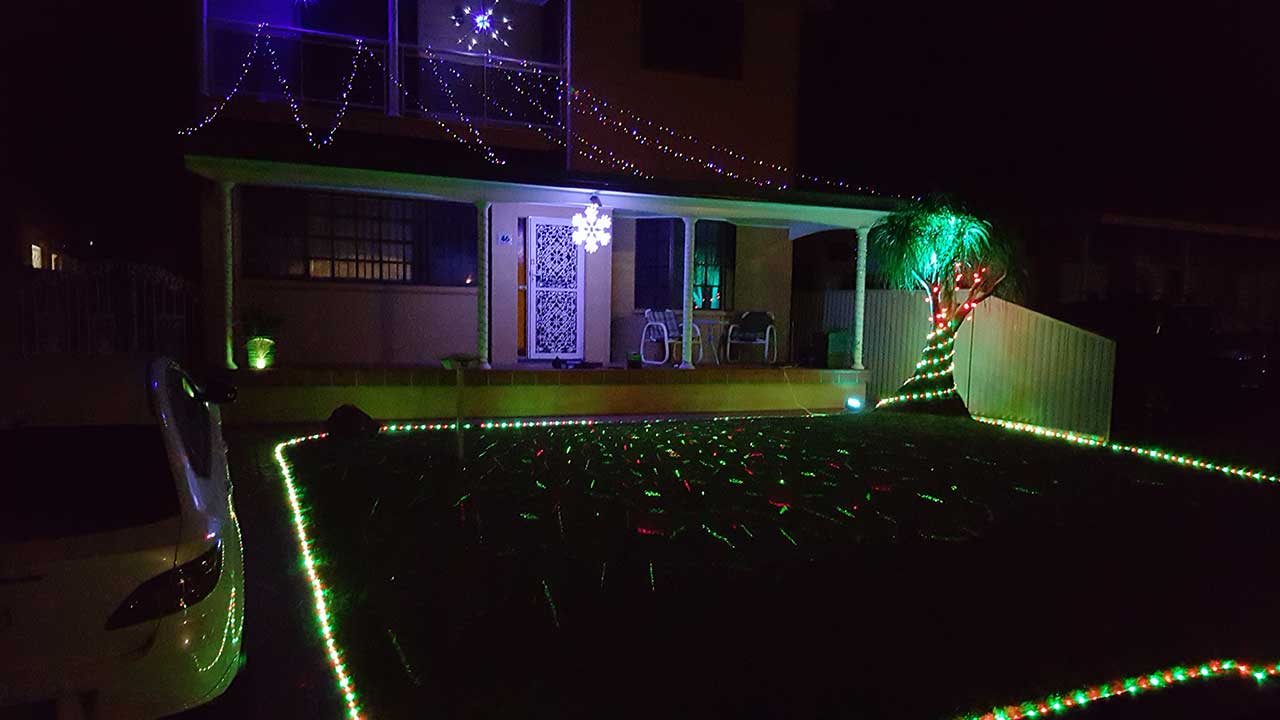
Here is my first Christmas light attempt (Apologies for the poor audio... and video... and random talking towards the end):
I was planning on blogging about the process I went through to build my lights, but the reality is that I did it all in less than a month, learning as I went. The result of such rushed work was a functional but hacky piece of work. As such, I'll stick to describing the project at a higher level.
Features
The Raspberry Pi controls the lights wrapped around each pillar of the house. The other lights are not interactive in any way and have nothing to do with the Pi.
There are three main features to the pillars:
- Instrument playing
- Song playing
- "Screensaver" effects
The first two features are interactive, which isn't something I've seen a lot of, even in online videos. There are plenty of insane Christmas light displays (Exhibit A, Exhibit B, Exhibit C), but for the most part they lack the ability to be influenced by spectators.
Instrument and Song Playing
The interactive elements of my Christmas lights are controlled by a little button box I made by etching my own PCB and mounting it in a box:
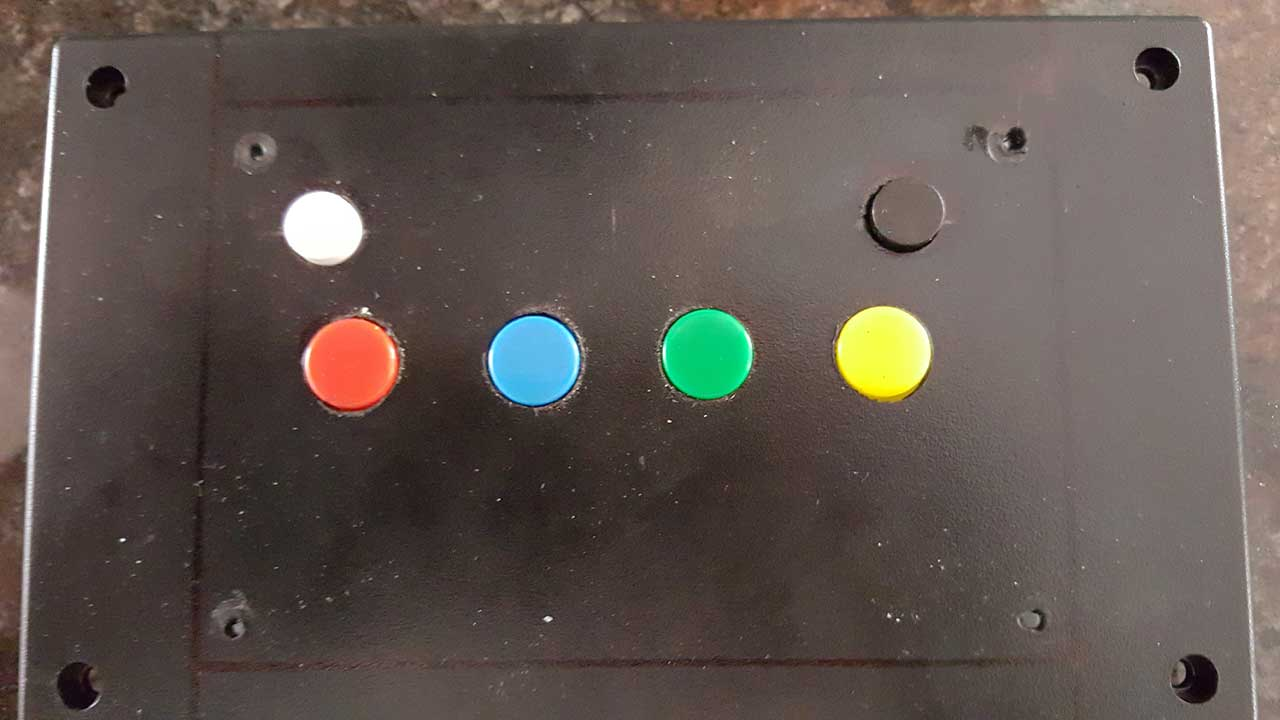
The coloured buttons are used to control the four house pillars. When a button is pressed, the corresponding pillar lights up and a musical sound is played. The pitch of the instrument increases from left to right. The white button changes the instrument between piano and violin.
The black button plays the chorus of one of four Christmas songs, and illuminates the pillars in sync with the music. This required using Audacity to find the timings of the notes, and mapping the notes to sheet music found online.
The screensaver effect is simply a series of alternating patters that are illuminated on the pillars when a button hasn't been pressed for a while.
How It Works
The Christmas lights on the four pillars are regular solar-powered LED strings. I cut the wires between the solar panel and the lights, and essentially ran each set of lights through a transistor. The transistors were then controlled using the GPIO pins on a Raspberry Pi using Pi4J:

What's Next?
I've already started working on my Christmas lights for 2016, and I plan to keep the blog updated as I progress. So, stay tuned!